
How to Add a Business to Apple Maps
Have you ever done a local business search on your iPhone only to come across inaccurate, partial or nonexistent information?
You are at disadvantage when one of your customers cannot easily find out what hours you are open, or even worse, your phone number and location.
Apple's Business Connect offers a free platform for local businesses to manage their information across Apple apps.
This in-depth guide provides information on how to build a complete and verified Apple Business Connect listing so customers can connect with your brand more easily.
What Are the Benefits of Apple Business Connect?
The following are the main benefits of using Apple Business Connect for your local business:
- Improved Visibility: Correct information about your business is directly related to relevant searches that customers make on Apple Maps, Siri, and other applications.
- Customer Augmentation: Include offers and call-to-action buttons to generate visits, calls, or directions to your business.
- Data Insights: Ability to understand insight metrics for views, taps, calls and directions so you can make informed marketing decisions.
- Automatic Updates: Changes made will be updated automatically across Apple platforms, saving you time while ensuring consistency.
Now, here’s the step by step guide!
Step 1: Create an Apple Account
First, you'll need an Apple Account, which acts as your account login for Apple Business Connect.
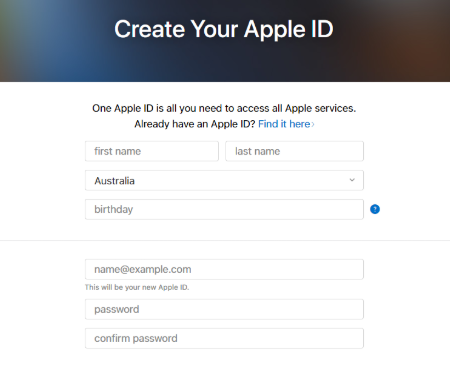
If you already have an Apple Account you use for other Apple services, feel free to use that same one. If you don't have an account then head to https://account.apple.com/ to sign up for a new one.
Since you will be putting your business information on this account, use an email and password that you have easy access to.
Step 2: Open Apple Business Connect
Visit Apple Business Connect at https://businessconnect.apple.com/.
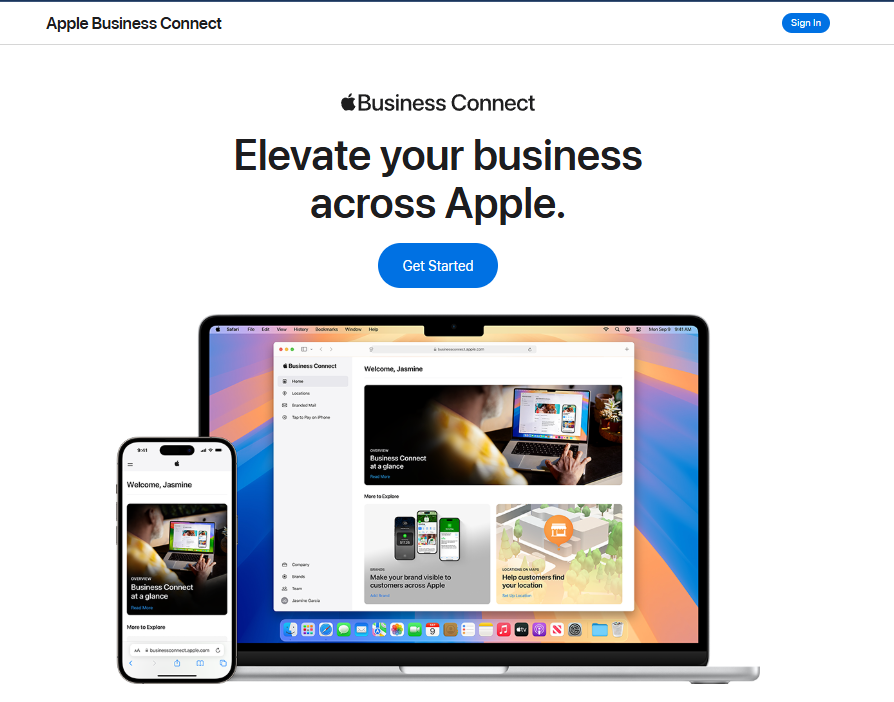
Here you'll find tailored options for:
- Small Businesses: For companies with fewer than 25 locations.
- Enterprise Brands: For major brands with 25+ locations.
- Partners: 3rd parties who manage listings for other businesses.
Choose a category relevant to your type of business.
Step 3: Select yourself as a "Small Business" or "Enterprise Brand"
To start the process, discover which option you should select based on your business type; if your business has under 25 locations select "Small Business."
Choose “Enterprise Brand” for bigger brands which will need more verification steps like asking you to send in your D-U-N-S number.
In this guide, we will address the "Small Business" setup.
Step 4: Search for Your Existing Listing
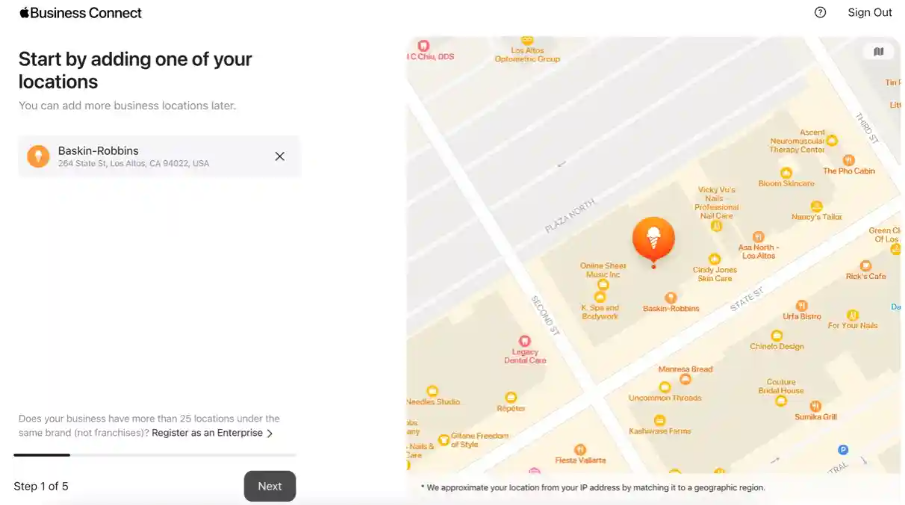
Search your exact business name and location in the search bar. Example: "Max's Coffee Cafe San Francisco"
If your business shows up, click it. If not, select "Add New Location" in order to create it.
Tip: If your hours, phone number or other information is already listed but incorrect, claim the listing to edit it.
Step 5: Add Location Details
For businesses that were not found in Apple Maps, you must add your business location information.
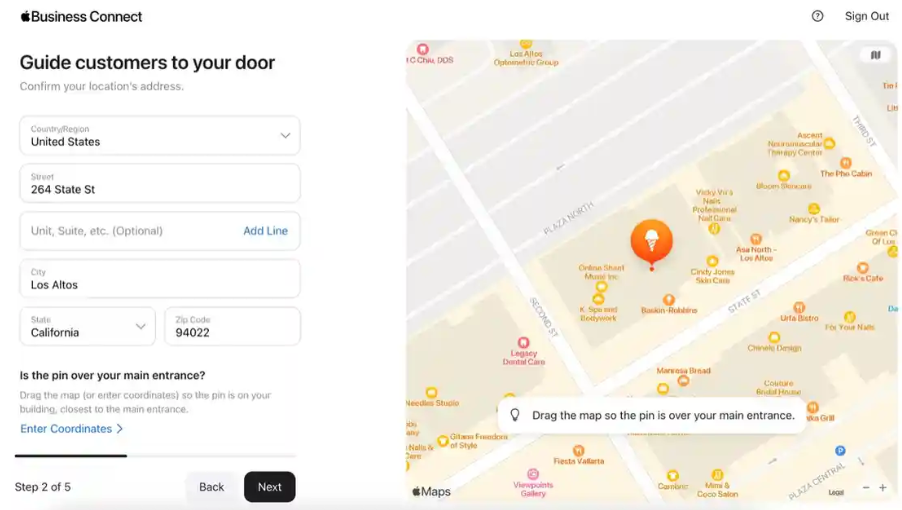
Accurately enter your:
- Full business name
- Street address
- City
- State
- ZIP code
- Country
And then check that the map pin appears exactly at your storefront door. Drag and drop it if needed.
Step 6: Enter Business Hours
The only detail you need to include is the correct business hours.
In the Hours Section, you can fill in:
- Primary Hours: Your normal hours every day of the week.
- Holiday Hours: If you're open on holidays but outside of your primary hours
- Temporary Schedule Changes: Adjustments such as early closures or special events.
Step 7: Include Additional Information
Then, add in other important information:
- Categories: Choose the main category in which your business operates, along with 5 other categories from the list provided.
- Phone Number: Enter your main phone number for your business location.
- Business website: Just add your business website so customers can find out more about your business.
- Photos: Add pictures of your business, service, and products.
- Showcases: Promote limited-time offers and fresh products.
- Action Buttons: Drive calls, directions, ordering, and bookings.
Step 8: Verify Your Listing
Verify that you own the business.
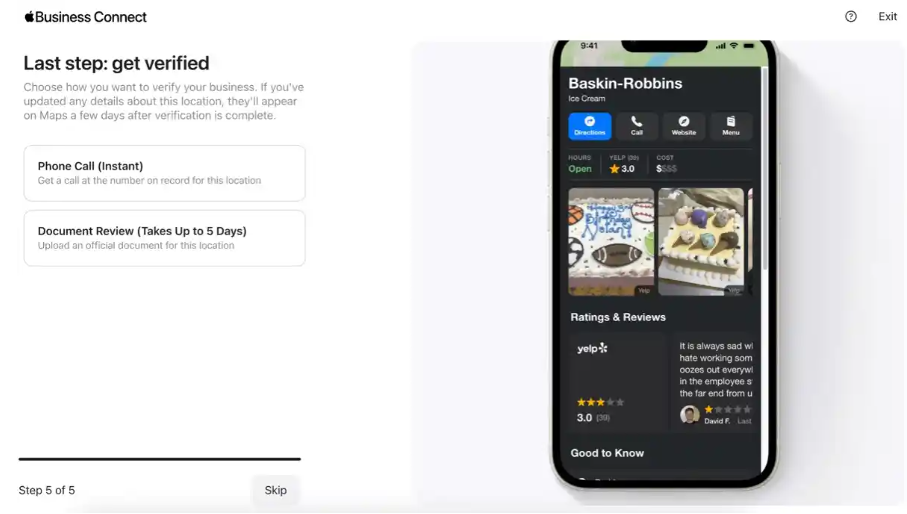
Verification checks can be made by:
- An automated phone call.
- Providing formal proof of ownership paperwork.
Step 9: Review and Submit
Check all your details to ensure accuracy before submitting the information to Apple.
After the approval, it may take up to 3 days for your local listing or listing updates to appear so be patient. You will get an email on whether your local listing submission was successful.
And that's it! Your business has been added to Apple Business Connect.
How to Manage Your Listing (Best Practices)
Maximize your Apple Business Connect listing with these tips:
- Update Hours Quickly: Incorrect hours annoy customers. Update any changes quickly.
- Photo Refresh: Update photos regularly to accurately display your business's interior, products and services.
- Take Advantage of Showcases: Use timely Showcases to show off fresh products, promos, events and more!
- Track your analytics: Review your dashboard for views, checks and directions to see what stands out to customers.
- Reply to Apple Maps reviews: Respond to Apple Maps Reviews so that you can let your customers know that their feedback is valuable to you.
- Combined Listings: Companies with more than one location can interlinking their locations.
- Add with Apps: Connect apps you use to allow your customers to do things like book times directly through Apple.
By maintaining your listing, you'll have the absolute best opportunity to be discovered by customers.
Why Complete Business Listings Matter
These days, maintaining healthy online listings is just a necessity for local businesses. Here's why:
- According to Google, 76% of shoppers who search nearby will visit a business in one day.
- Google says that 28% of local searches result in a purchase.
- 82% of buyers use phones before purchasing locally.
Online information also allows customers to discover, learn about, and choose to engage with local business.
A completely optimized and verified Apple Business Connect listing will help you rank higher, build a good business reputation, and attract more customers.